
Scribble and scribble till you get the required image in your mind. Do not Pay Much attention to details. Details like eyes, ears and other minute parts can be added at last once you are happy with posture of the required character.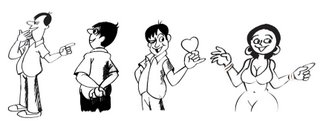 Please also View:
(1)Designing Avatar Tutorials
(2)Animating Body Parts
For me the difficult task in illustration is making rough sketches. My best time for Sketching is morning hours. Pencil and Eraser are my best friends. Scribbling...Scribbling...Scribbling...without much attention to details. Almost careless light and dark pencil lines till I get the correct anotomy of my sketches. When Iam happy with my drawings then I switch over to inking.
The following drawing tools I use for sketching and inking:
(1) HB pencil
(2) Non - dust eraser
(3) Crowquill nibs
(4) Camel Waterproof Drawing Ink 07 ( 07 is product code. Qty 20ml. Cost 13 INR).
(5) No.2 Brush for filling dark loops in drawing like hair and shades.
Qty-20 ml is sufficient for me to ink plenty of drawings. Fortunately this ink available in all stationary shops nearby me.
All imaginary light and dark lines of my sketches will have their perfect details during inking process. Till that time it is difficult to assume viewers what pose is it exactly. When I finished with inking I will let my sketch to dry say about 5 minutes. Then my daughter will assist me to erase all pencil lines.
The Final process is scaning. I normally scan all my black and white drawings at 300 dpi and save them in Tiff format in photoshop.
♥♥♥ Watch this page for more updates ♥♥♥
Rough Sketching, Scanning And Coloring Tutorials
For more information please visit pukkalla.com
Step - by - Step tutorial will guide you how to make a rough sketching, scanning and coloring in photoshop.
May 28, 2006
Art Works
May 27, 2006
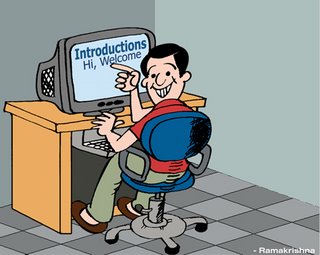
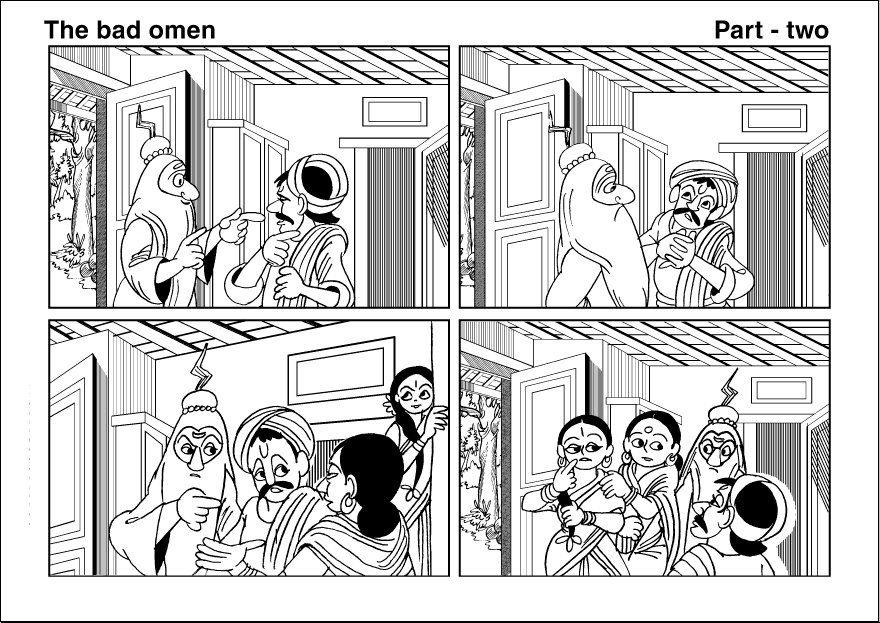
Cartoons,Illustration and Storyboard

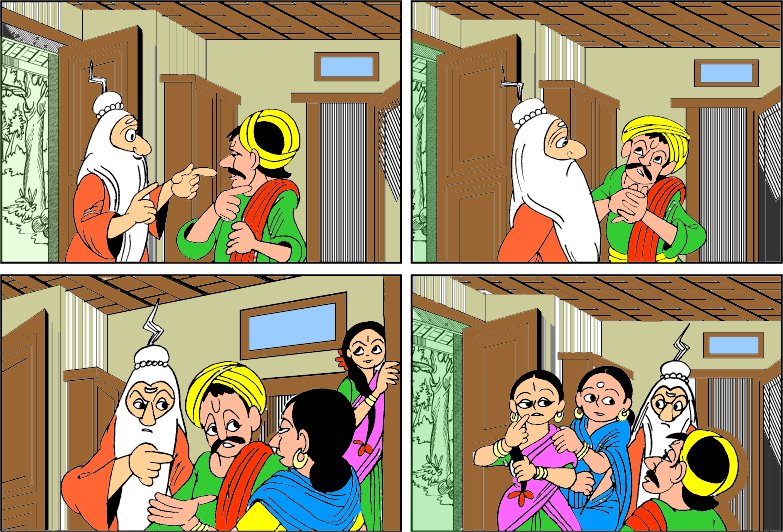
The above illustration drawn to convey Greetings to Digitalpoint
=================================================
Photoshop Tips
Following are some photoshop key board short cuts:
1. To go back and forth in the history - Ctrl+Alt+Z and Ctrl+Shift+Z.
2. Press Ctrl key and hold to change selected tool to move tool.
3. To Zoom in and zoom out open window hold Ctrl key and press
"+" Or "-"
4. To hide tools and palette press Tab and to hide only palette
press Shift+Tab
5. To determine center point of the tool press Caps Lock.
____________________________________________
Simultaneously you can see changes on separate image set to it's
original size by making changes to a zoomed in copy of same image.
To make this happen,
(1) Open a image for editing.
(2) Go to Window >> Arrange >> New window xxxx
(3) Now you will have two document for same image.
(4) Keep first image at its original size and Zoomin second image to required size.
(5) Start modifiying enlarged (zoomed in) image.
Simultaneously you can see the same changes on the image
that set to its original position.
___________________________________________
Scanning and Coloring of Black & White Art Works
I swithced over to Web Designing in the year 2004. Before that I was doing illustrations, Comic strips and Cartoons as a full time employee in one of the 2D Animation Studios in the Hyderabad, India. There I learnt many tips and tricks in making meaningful art works and illustrations under able guidence of two of my childhood favorite cartoonists. It was almost my dream come true by working and sharing my childhood affection with them. My stay at Studio as an artist was a wonderful experience. The 2D animation activities in the Studio was an intresting watch for me. The Studio was a heaven for me watching the non stop activities of of Animators, Key animators, Cleanup and Background artists.
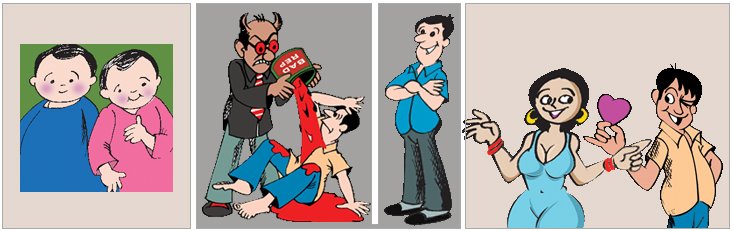
The following storyboard illustrations I made for some news paper. I do not remember the story. The narration for this story was on seperate files. The dialogue baloons are inserted separately in Pagemaker software after illustrations were made, scanned and colored in Photoshop. If anyone can guess what could be the story of these illustrations please email me.
Please click on image for Enlarged View


How black and white Artworks are colored in Photoshop:
Scanning
(1) Scan art works at 300 dpi with Black and white option selected in scanning option.
(2) Save scanned images in Tiff format.
(3) Open Scanned images in photoshop.
(4) Select pencil tool (Key board short cut : B) and join all the open lines with black color this avoids spilling of colors to unwanted areas.
(5) Select erase tool and erase dust and scratches in and around the scanned images
(6) Go to >> Image >> Mode and change the option from Bitmap to Grayscale. Grayscale dialogue box appears. Let be the default size ration = 1 and click OK to close the grayscale dialogue box.
(7) Again Go to >> Image >> Mode and change the option from Grayscale to RGB or CMYK .
(CMYK Mode used for Print Media)
(8) Finally select Bucket Tool, choose required colors from tool box color options and fill the colors.
Sample Color Image >>
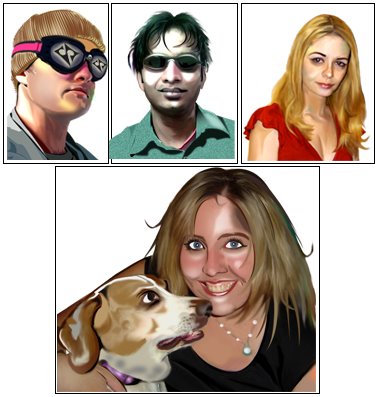
Avatars
__________________
Avatars Created in photoshop for idolme.com forums.
Click on image to Enlarge
![]()
Caricatures
 Also Please visit my other tutorial:
(1) Designing Avatar Tutorials
(2) Animating Body Parts
Subscribe to:
Posts (Atom)


