
After a gap of one year, again here are my pencil sketches and colored illustrations created for Illustration Friday weekly topics . Illustration Friday inspired me a lot to drive away my laziness and made me to search for my art material.
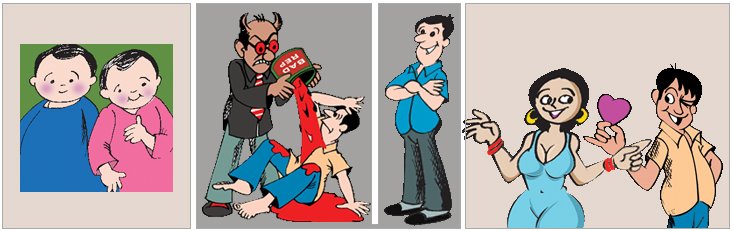
The following first two cartoon/illustrations are rough sketches created on paper. Other two are after inking and coloring in photoshop.

The color images are output of my usual procedure. That is inking, scanning and coloring.![]()
![]()
Creating children characters is great thrill. I know the body proportions are not perfect...but I could not restrict myself to post in my blog. There is lot of inspiration around. I need to practice a lot about drawing children faces.
Now there is something to blog every week. Thanks to Illustration Friday!.
Showing posts with label Illustrations. Show all posts
Showing posts with label Illustrations. Show all posts
Feb 6, 2008
Blanket Illustrations/Cartoons
May 27, 2006
Cartoons,Illustration and Storyboard

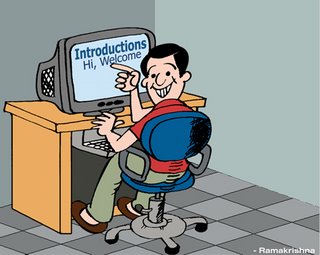
The above illustration drawn to convey Greetings to Digitalpoint
=================================================
Photoshop Tips
Following are some photoshop key board short cuts:
1. To go back and forth in the history - Ctrl+Alt+Z and Ctrl+Shift+Z.
2. Press Ctrl key and hold to change selected tool to move tool.
3. To Zoom in and zoom out open window hold Ctrl key and press
"+" Or "-"
4. To hide tools and palette press Tab and to hide only palette
press Shift+Tab
5. To determine center point of the tool press Caps Lock.
____________________________________________
Simultaneously you can see changes on separate image set to it's
original size by making changes to a zoomed in copy of same image.
To make this happen,
(1) Open a image for editing.
(2) Go to Window >> Arrange >> New window xxxx
(3) Now you will have two document for same image.
(4) Keep first image at its original size and Zoomin second image to required size.
(5) Start modifiying enlarged (zoomed in) image.
Simultaneously you can see the same changes on the image
that set to its original position.
___________________________________________
Scanning and Coloring of Black & White Art Works
I swithced over to Web Designing in the year 2004. Before that I was doing illustrations, Comic strips and Cartoons as a full time employee in one of the 2D Animation Studios in the Hyderabad, India. There I learnt many tips and tricks in making meaningful art works and illustrations under able guidence of two of my childhood favorite cartoonists. It was almost my dream come true by working and sharing my childhood affection with them. My stay at Studio as an artist was a wonderful experience. The 2D animation activities in the Studio was an intresting watch for me. The Studio was a heaven for me watching the non stop activities of of Animators, Key animators, Cleanup and Background artists.
The following storyboard illustrations I made for some news paper. I do not remember the story. The narration for this story was on seperate files. The dialogue baloons are inserted separately in Pagemaker software after illustrations were made, scanned and colored in Photoshop. If anyone can guess what could be the story of these illustrations please email me.
Please click on image for Enlarged View

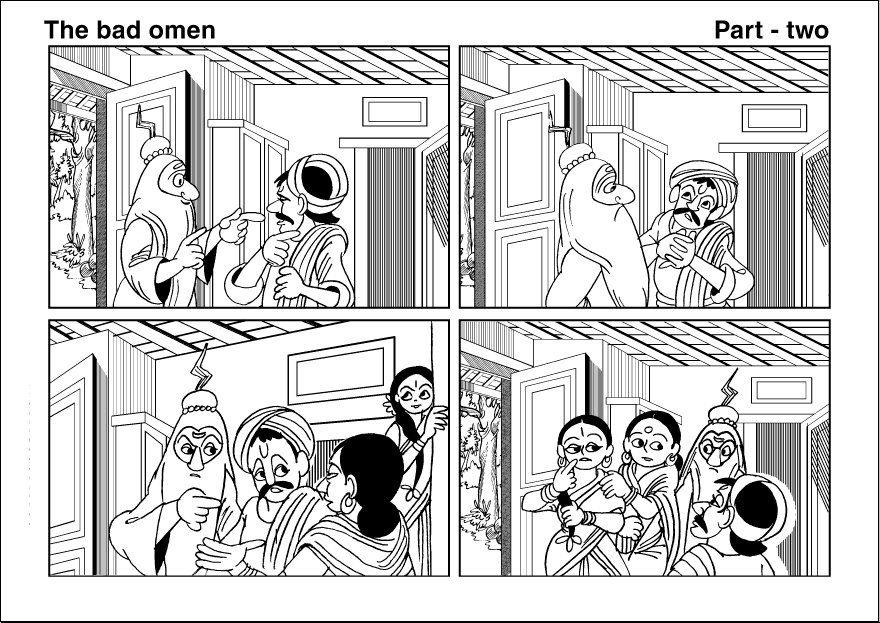


How black and white Artworks are colored in Photoshop:
Scanning
(1) Scan art works at 300 dpi with Black and white option selected in scanning option.
(2) Save scanned images in Tiff format.
(3) Open Scanned images in photoshop.
(4) Select pencil tool (Key board short cut : B) and join all the open lines with black color this avoids spilling of colors to unwanted areas.
(5) Select erase tool and erase dust and scratches in and around the scanned images
(6) Go to >> Image >> Mode and change the option from Bitmap to Grayscale. Grayscale dialogue box appears. Let be the default size ration = 1 and click OK to close the grayscale dialogue box.
(7) Again Go to >> Image >> Mode and change the option from Grayscale to RGB or CMYK .
(CMYK Mode used for Print Media)
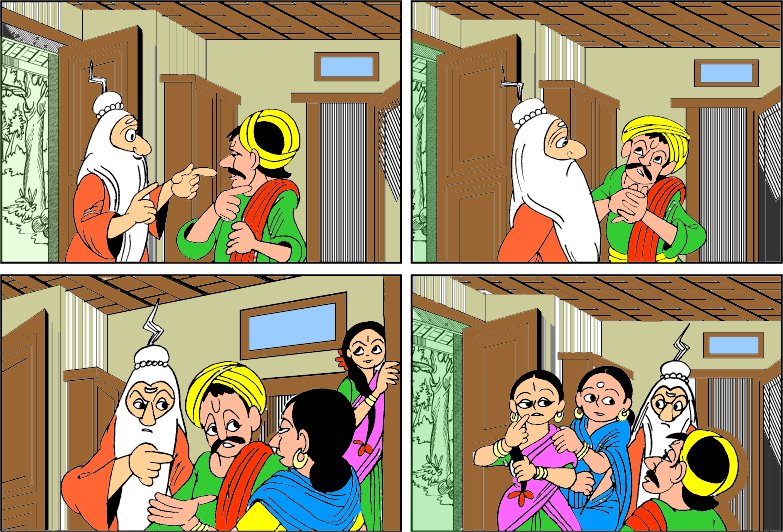
(8) Finally select Bucket Tool, choose required colors from tool box color options and fill the colors.
Sample Color Image >>
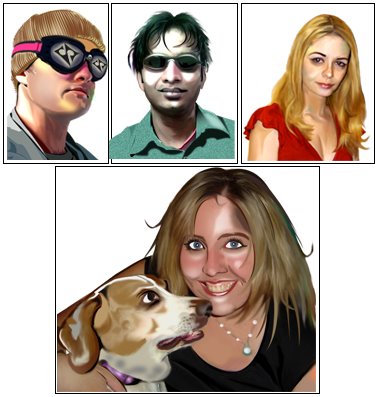
Avatars
__________________
Avatars Created in photoshop for idolme.com forums.
Click on image to Enlarge
![]()
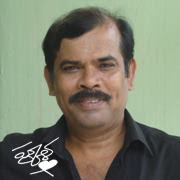
Caricatures
 Also Please visit my other tutorial:
(1) Designing Avatar Tutorials
(2) Animating Body Parts
Subscribe to:
Posts (Atom)


